Prometheus & Grafana
- Category: 電腦相關
- Last Updated: Tuesday, 20 December 2016 23:39
- Published: Wednesday, 13 July 2016 16:24
- Written by sam
試下Prometheus & Promdash
一樣是類似之前用的OpenNMS或是Cacti或是StatsD
在該目錄下也有許多xxxx_exporter可以將資訊提供給不同的介面作展示
當然現在很方便的是,也有許多用Docker的印像檔可以直接用,不用作"環境"設定
我的閒置機是Ubuntu
Linux ubuntu 4.2.0-16-generic #19-Ubuntu SMP Thu Oct 8 15:35:06 UTC 2015 x86_64 x86_64 x86_64 GNU/Linux
首先,依此導讀檢查是否有備齊相關套件
因為有.deb套件
所以可以使用編譯好的組件
請先加入來源至系統的 /etc/apt/sources.list
然後直接更新、安裝即可
或是偷懶的話也可以使用 aptitude install 也行,會自動幫你做掉相關套件
完成的話
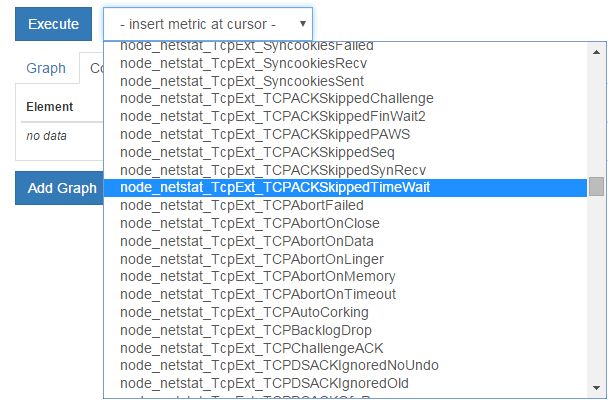
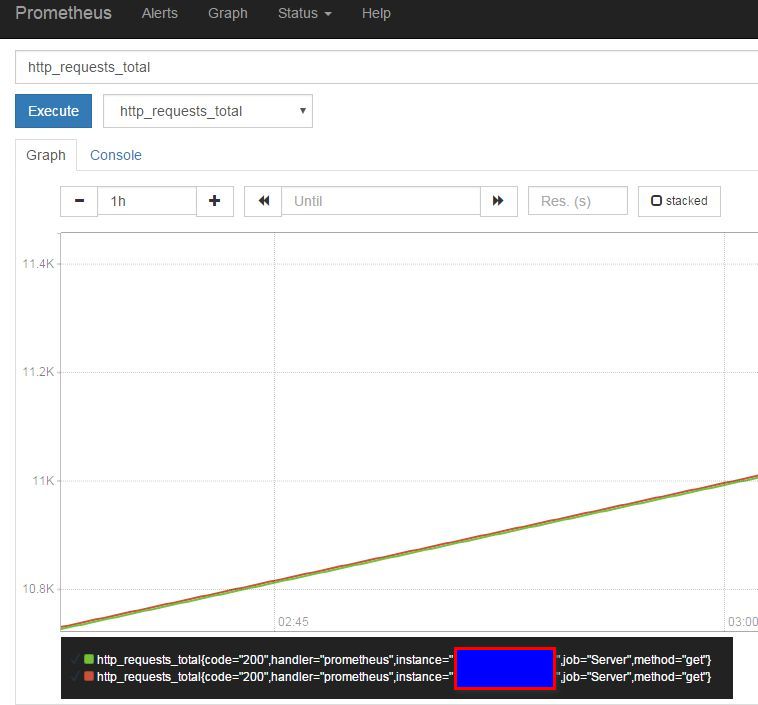
預設訪問畫面(正常是倒數第二張圖,這是Grafana)
Http://boredom.gotdns.com:9090/
跟風流行一下
修改prometheus的設定檔
採用套件安裝的話
cd /etc/prometheus/
vi prometheus.yml
正常來說沒有修改的話,只會抓到預設的本機資訊
root@ubuntu:/etc/prometheus# cat prometheus.yml
# Sample config for Prometheus.

global:
  scrape_interval:     5s # By default, scrape targets every 15 seconds.
  evaluation_interval: 5s # By default, scrape targets every 15 seconds.
  # scrape_timeout is set to the global default (10s).

  # Attach these labels to any time series or alerts when communicating with
  # external systems (federation, remote storage, Alertmanager).
  external_labels:
      monitor: 'example'

# Load and evaluate rules in this file every 'evaluation_interval' seconds.
rule_files:
  # - "first.rules"
  # - "second.rules"

# A scrape configuration containing exactly one endpoint to scrape:
# Here it's Prometheus itself.
scrape_configs:
  # The job name is added as a label `job=<job_name>` to any timeseries scraped from this config.
#  - job_name: 'prometheus'

    # Override the global default and scrape targets from this job every 5 seconds.
#    scrape_interval: 5s
#    scrape_timeout: 5s

    # metrics_path defaults to '/metrics'
    # scheme defaults to 'http'.

#    target_groups:
#      - targets: ['localhost:9090']

  - job_name: Server
    # If prometheus-node-exporter is installed, grab stats about the local
    # machine by default.
    target_groups:
      - targets: ['192.168.8.11:5555']
      - targets: ['192.168.8.22:5555']
以上是我的設定,多了兩個目標(我的內網主機ip及port號)
再來是說一下啟動
nohup prometheus &
將工作丟至背景
當然如果要取得別臺主機的資訊
需要node_exporter這個套件
如果是安裝套件的話,會自動安裝
只需要將之啟動就行了
nohup prometheus-node-exporter &
它吃的是同一個設定檔,也就是最後的targets的部份
然後至要抓取的目標安裝一下套件
因為是我的主要機器…所以我用下套件的方式
就不用安裝或更新了(但相關的套件版本仍是必需更新至要求的)
至此依自己系統下載所需
node-exporter只需解壓就行用了
nohup ./node_exporter -web.listen-address=":5555" &
以上為自行定義的port號,一樣丟至背景執行
這樣就能取得系統的Ram CPU Netstat等等資訊,不只是http
最後就是安裝Promdash 或是換順手的Grafana
因為預設的Prometheus只是一個介面,沒有儲存
當然最重要的就是"改天了......"
###########################################
幾個常用的指令
upgrade a single package using apt-get
apt-get install --only-upgrade <packagename>
apt-get-gpg-error-no_pubkey
apt-key adv --keyserver keyserver.ubuntu.com --recv-keys "ERROR KEY HERE"
for test (only show the list but not upgrade)
apt-get -s upgrade
##########################################
今天還是用舊的Grafana來弄Dashboard
安裝很快…沒特別注意事項(記得裝資料庫…)
就直接弄設定畫面,先啟動
nohup ./grafana-server web &
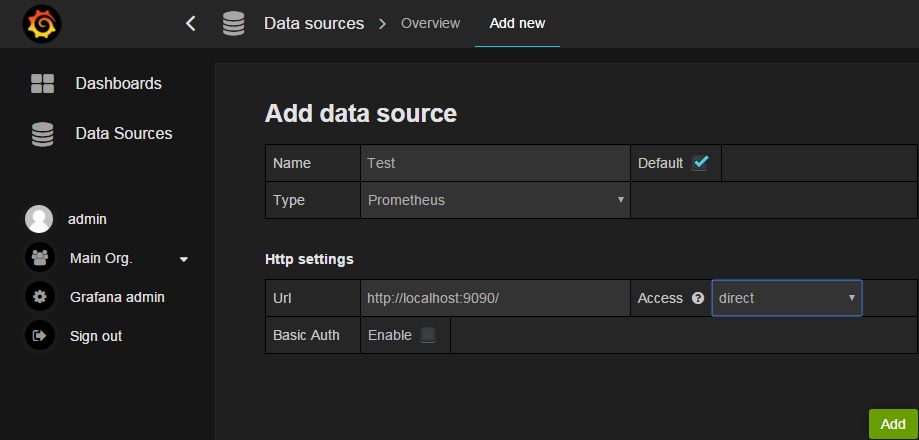
設定好連接的資料庫及下拉選擇Prometheus格式
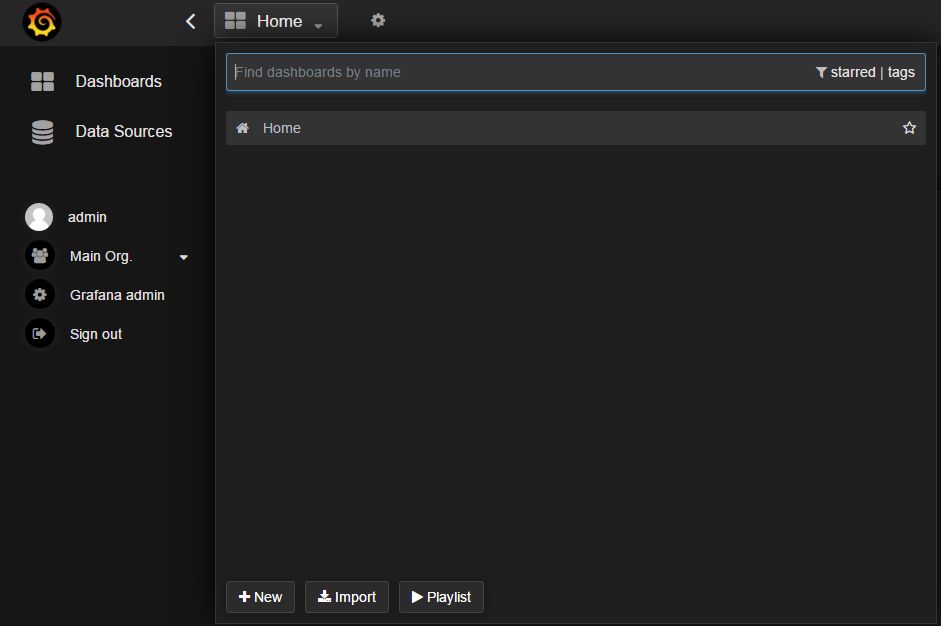
點選左上Dashboard 來自訂新的展示介面
再點 +New
全新空白頁面,點下紫色 ADD ROW
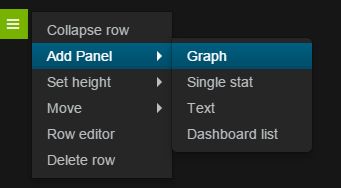
click Add Panel ---> Graph (這邊看你想作啥種格式)
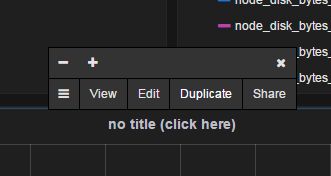
click no title ---> Edit
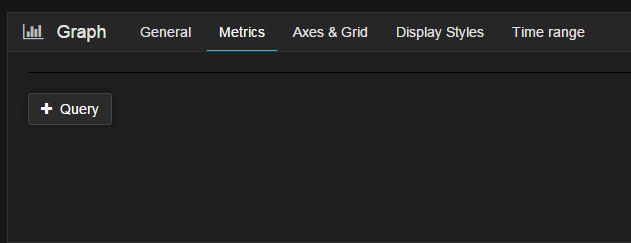
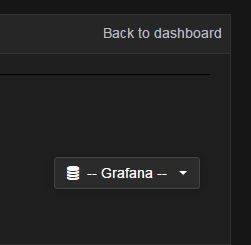
click Metrics and change right label(DB) Grafana to Prometheus first
然後點一下"General" 修改成方便、好讀的標題
再來就和Prometheus相同步驟了
唯一不同點就是有許多的"細項"可以調
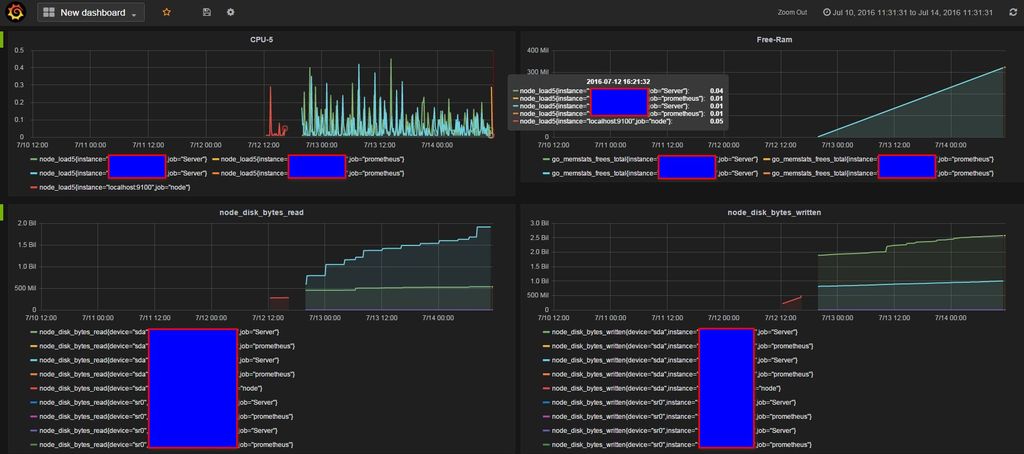
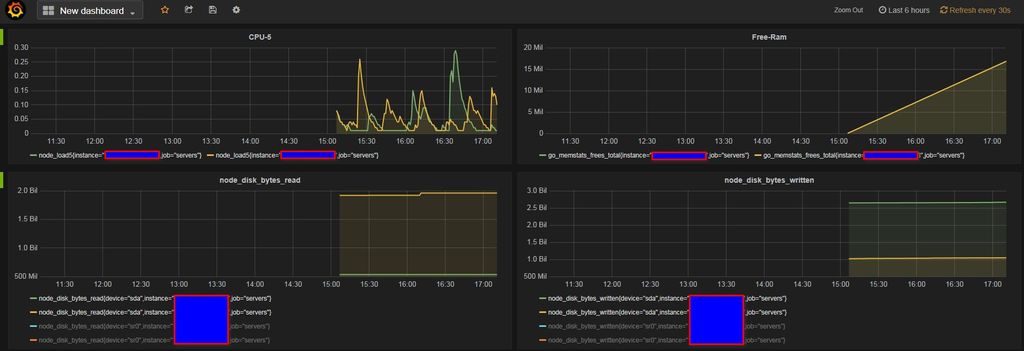
而且"美觀"許多,來看下舊的
新的介面
####################
iptables 記得加一下…免得像我的網站沒什麼流量被撈出來笑…
iptables -A INPUT -p tcp -s YourIP --dport YourPort -j ACCEPT
iptables -A INPUT -p tcp -s 0.0.0.0/0 --dport YourPort -j DROP
####################
